LED strips are a fantastic way to add vibrant lighting to your desk surface, enhancing the overall aesthetics and creating a more immersive environment. However, sticking LED strips properly is crucial to ensure they stay in place and provide optimal lighting. In this article, we will guide you through the process of sticking LED strips to a desk surface effectively.
Choose the Right LED Strips
Before you start sticking LED strips to your desk surface, it’s important to choose the right type of LED strip for your needs. Consider the following factors:
- Length: Measure the length of your desk surface to determine the appropriate length of LED strips required.
- Color and brightness: Decide on the color and brightness level that aligns with your desired ambiance.
- Adhesive backing: Look for LED strips that come with strong adhesive backing for easy installation.
Related topic: How to keep LED strip lights from overheating?
Preparing the Desk Surface
To ensure proper adhesion, it’s essential to prepare the desk surface before applying the LED strips. Here’s what you need to do:
Clear the Desk
Remove all items from the desk surface, including papers, stationery, and any other objects that might hinder the adhesion process.
Clean the Desk Surface
Dust, dirt, and oil can interfere with the adhesive’s effectiveness. Clean the desk surface using a mild cleaning solution or a mixture of water and isopropyl alcohol. Make sure to dry it thoroughly before proceeding.
Applying Adhesive
To enhance the adhesion of the LED strips, you can use additional adhesive. Follow these steps: (Note: this is not needed for most of the good-quality LED strips. Do this only if the manufacturing company tells you to do that or you bought an old product that has less adhesive left)
Choose the Right Adhesive
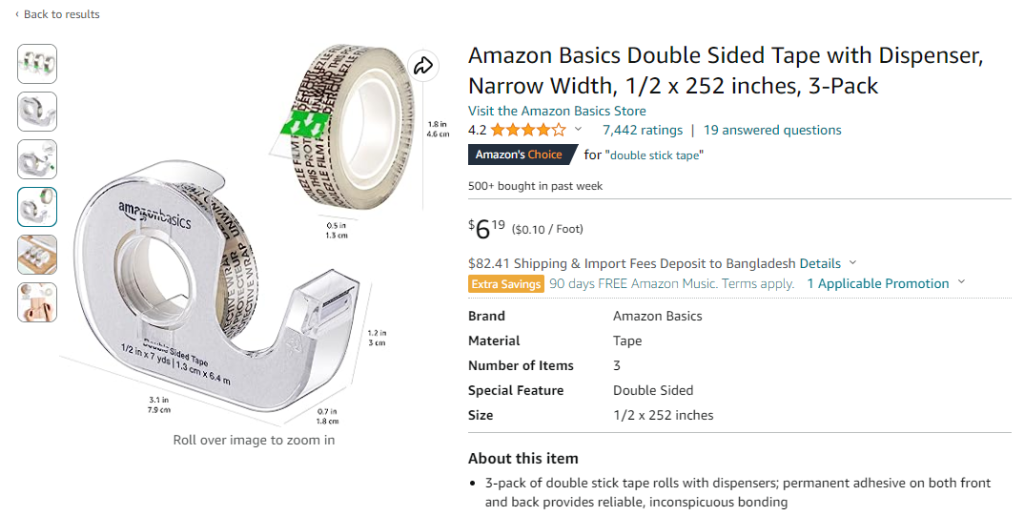
Select an adhesive that is suitable for the material of your desk surface. Double-sided tape or adhesive pads work well in most cases.
Cut the Adhesive
Cut the adhesive into appropriate lengths that match the LED strip segments.
Attach the Adhesive
Peel off the protective backing from the adhesive and apply it to the designated areas on the backside of the LED strips.
Attaching the LED Strips
Now that you have prepared the desk surface and the LED strips, it’s time to attach them. Follow these steps:
Plan the Placement
Decide on the desired placement of the LED strips along the desk surface. Take into account any corners or bends you may encounter.
Remove the Adhesive Backing
Peel off the protective backing from the adhesive attached to the LED strips.
Stick the LED Strips
Carefully align the LED strips with the planned placement and press them firmly onto the desk surface. Start from one end and gradually move along the designated path.
Apply Pressure
Apply even pressure along the entire length of the LED strips to ensure proper adhesion.
Securing the Connection
If your LED strips come in segments, you may need to secure the connections between them. Here’s how:
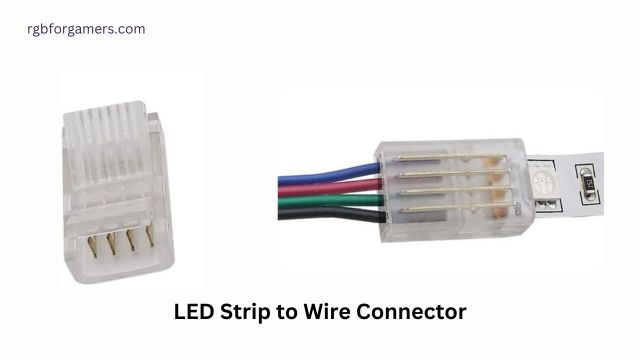
Use Connectors
If your LED strips have connectors, simply connect them according to the manufacturer’s instructions.
Soldering (Optional)
In case the LED strips require soldering, follow the soldering instructions carefully to secure the connections between the segments.
Also read: Can I leave my LED lights ON all night?
Testing the LED Strips
After attaching the LED strips, it’s important to test them to ensure they are functioning correctly. Here’s what you should do:
Power On
Connect the LED strips to a power source and switch them on to check if all the lights are working.
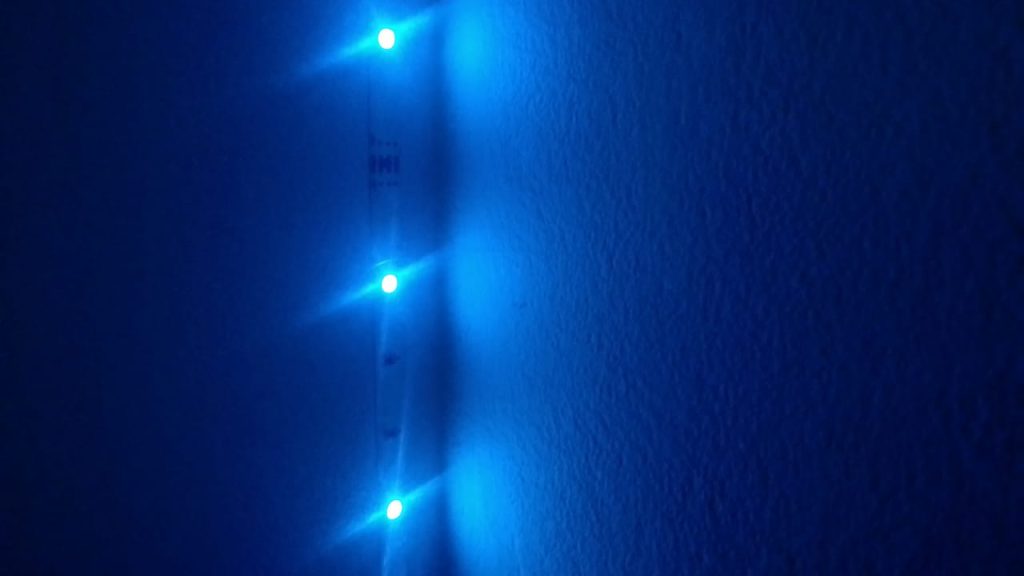
Check for Proper Color and Brightness
Observe the color and brightness of the LED strips to ensure they meet your expectations.
Troubleshooting
If you encounter any issues with the LED strips, consider the following troubleshooting steps:
- Check the power connection to ensure it’s secure.
- Inspect the soldered connections (if applicable) for any loose or damaged wires.
- Verify that the LED strip segments are correctly aligned and firmly attached to the desk surface.
FAQ
Can I reuse LED strips if I remove them from my desk?
Yes, LED strips can typically be reused if you remove them carefully without damaging the adhesive backing. You may need to apply new adhesives when reattaching them to another surface.
How do I prevent the LED strips from peeling off over time?
To prevent the LED strips from peeling off, make sure to clean the desk surface thoroughly before installation and use additional adhesive if necessary. Avoid placing heavy objects on the LED strips and handle them with care.
Can I cut LED strips to fit my desk length?
Yes, LED strips are often designed to be cut at specific intervals. Check the manufacturer’s instructions for guidance on cutting and reattaching the strips.
Are LED strips safe to use on wooden desks?
LED strips are generally safe to use on wooden desks. However, it’s important to choose an adhesive that is suitable for the specific type of wood to avoid any potential damage.
Can I dim the LED strips for a softer lighting effect?
Many LED strips come with dimmable options, allowing you to adjust the brightness according to your preference. Check the product specifications to ensure the LED strips you choose are dimmable.
Conclusion
Sticking LED strips to a desk surface is a simple process that can significantly enhance your workspace’s visual appeal. By following the steps outlined in this article, you can ensure a secure and visually stunning installation. Enjoy the vibrant lighting and create a more immersive environment for your work or leisure activities.

Hello I am Sakib Mahmud. A gamer and writer, and a Student of Computer Science and Engineering. I love to write about different topics and gaming is one of my favorites. Hope you will find something awesome!